16 Dresser Makeover Ideas, From Find to Finish
Most dresser makeover advice starts at the paint, which is why so many flips disappoint: the finish was fine, the dresser was wrong, or the prep was skipped. A good makeover is a pipeline, find, assess, prep, repair, prime, finish, hardware, stage, and the ideas that change the result live at every stage, not just the colour chart.
This list follows that pipeline in order. If you are standing in a charity shop, start at idea 1. If the dresser is already in your garage, start at idea 4. The methods described are the standard ones used by furniture refinishers, in the order they use them, because that order is most of the craft.
Stage One: The Find
1. Read the bones before the finish

Ignore the surface completely and judge the structure: solid wood drawers with dovetail joints, a frame that does not rack when you push it sideways, drawers that run on their runners. Ugly varnish is a weekend. Bad bones are forever.
Weight test: a dresser that is surprisingly heavy for its size is usually solid wood and better made. Particleboard announces itself by being light and by crumbling at the screw holes.
2. Do the fifteen minute assessment
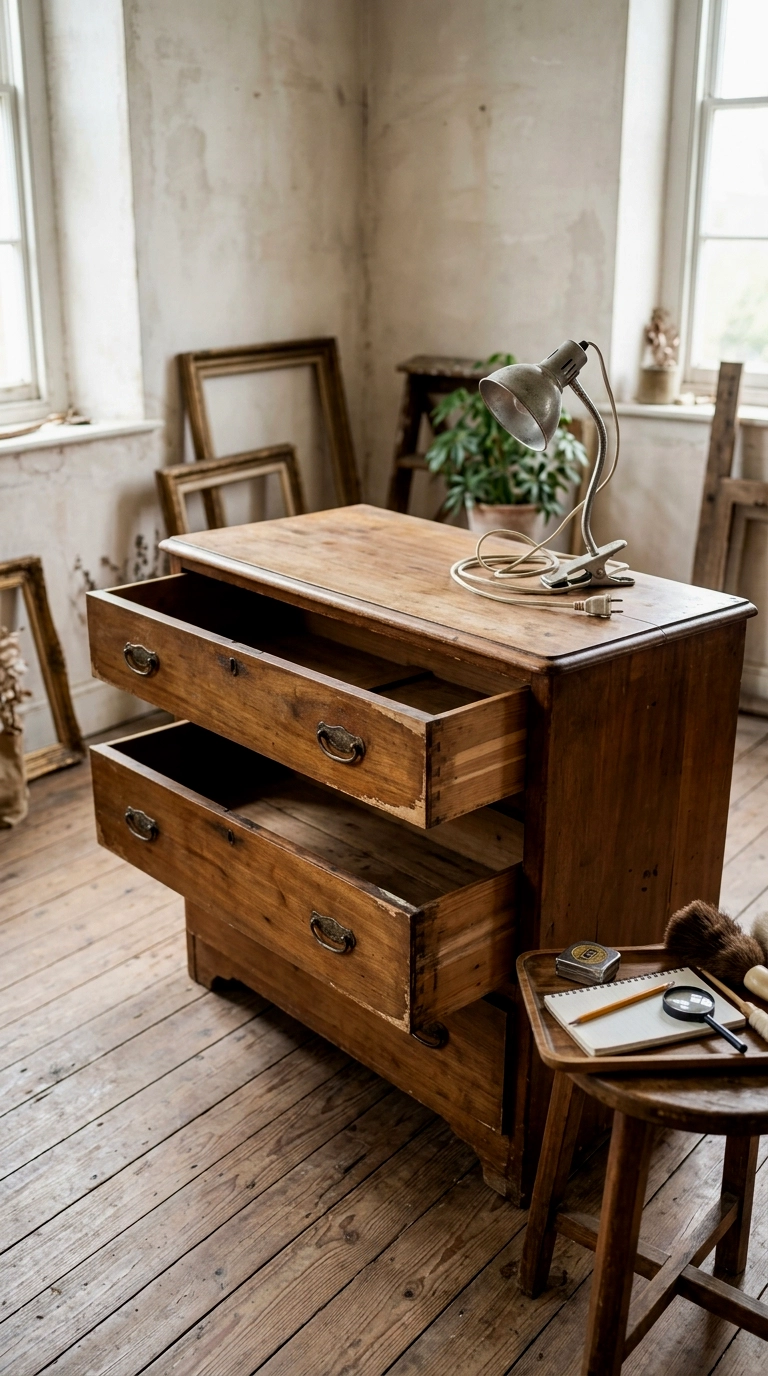
Open every drawer and check it glides and sits square. Sight along the top for dips, press veneer edges for bubbles or lifts, look underneath for water damage and woodworm holes, and smell the drawers, because smoke and damp smells survive paint surprisingly well.
Walk away price: structural repairs, missing drawer runners and active woodworm are the three finds that turn a cheap dresser into an expensive project. Factor them in or leave it.
Stage Two: The Prep
3. Strip it back to a clean, bare start
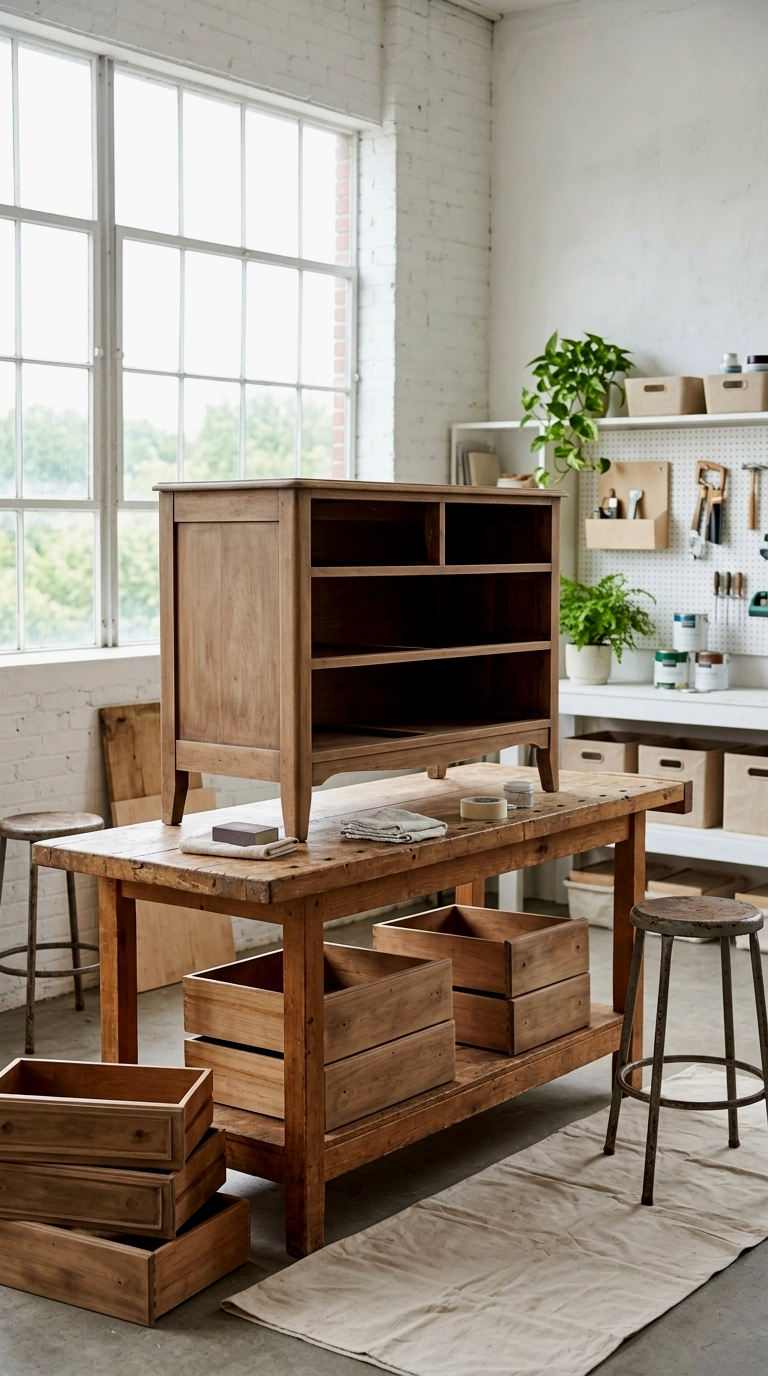
Hardware off and bagged with its screws, drawers out, then a proper clean with a degreasing cleaner before any sandpaper appears. Sanding before cleaning just grinds grease and polish into the grain, and the finish will show it later.
Order matters: clean, then repair, then sand, then prime. Every skipped step sends its bill to the final coat.
4. Sand smart, not hard
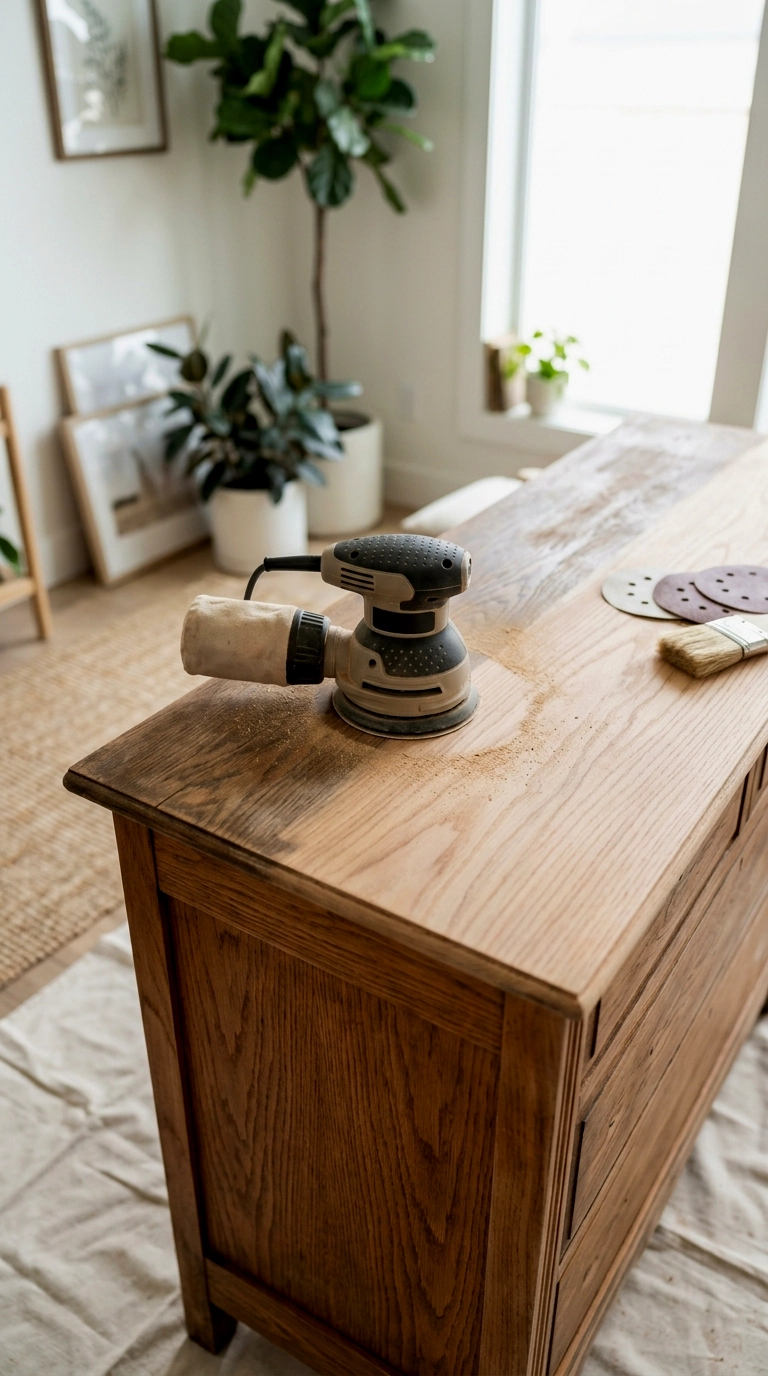
Most painted makeovers need a scuff sand, not a full strip: 120 grit to break the shine, 180 to smooth, worked through in that order. Strip back to bare wood only when the old finish is flaking, crazed, or when you plan to stain, because stain over old finish patches will never even out.
Old paint warning: furniture painted before the late 1970s can carry lead paint. Test kits are cheap. If a test is positive, wet methods and proper disposal replace dry sanding, or the piece goes to a professional.
The makeover toolkit
Cleaning: degreasing cleaner, lint free cloths, a stiff brush for carved detail.
Sanding: 120 and 180 or 220 grit, a sanding block or orbital sander, tack cloths.
Repair: two part wood filler for edges and chips, standard filler for small dings, wood glue and a clamp.
Priming and finishing: the right primer for the substrate, a quality angled brush and small foam rollers, water based topcoat.
Safety: dust mask, eye protection, and a lead test kit for any pre 1980s painted piece.
Measuring: tape, and a hardware jig or ruler for handle hole spacing.
Stage Three: Repair and Prime
5. Rebuild chips and edges with filler
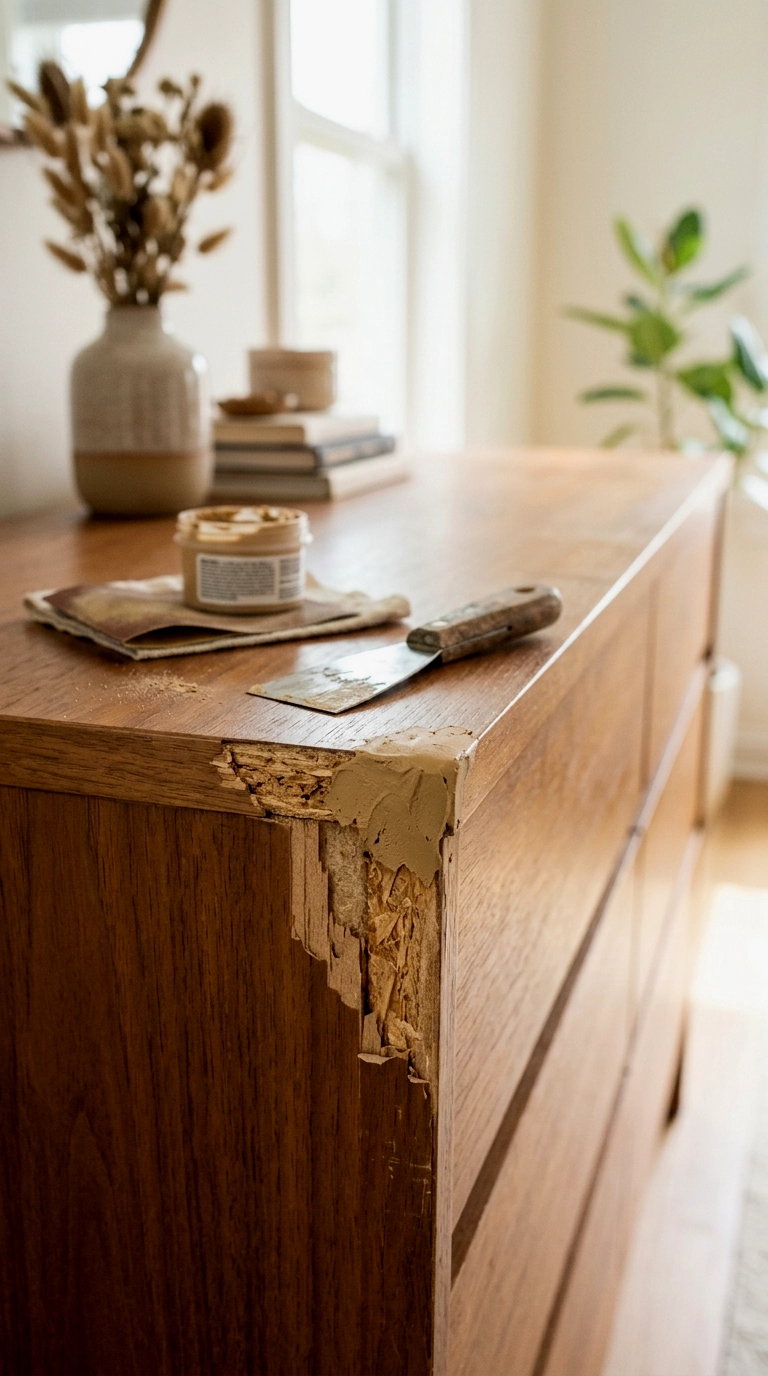
Veneer chips and knocked corners get rebuilt slightly proud with two part filler, then sanded back flush when cured. Standard soft filler is fine for pin dings and old hardware holes, it shrinks too much for edges that take knocks.
Edge trick: mould the filler against a straight offcut held to the corner. You sand far less and the rebuilt edge comes out crisp.
6. Prime for the substrate you actually have
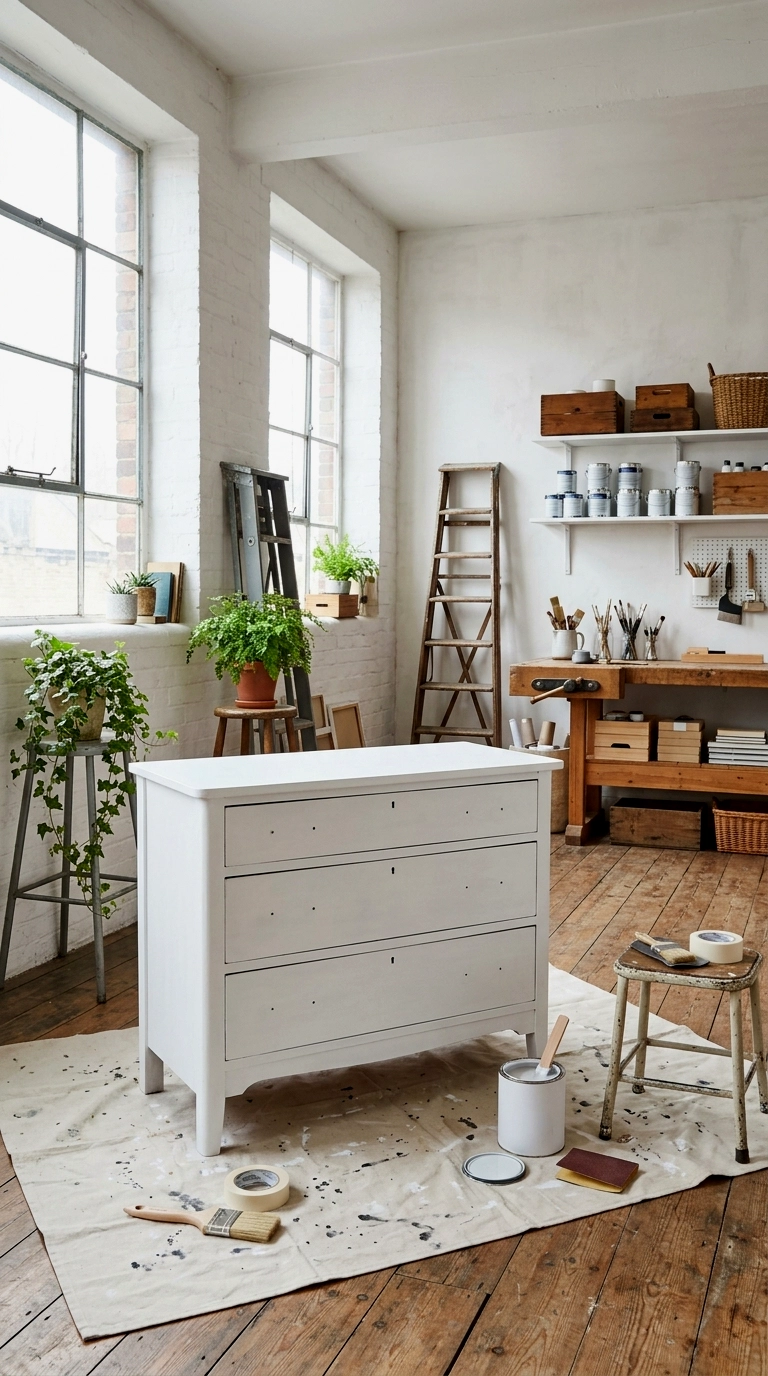
Primer is not one product. Dark woods and stains that bleed through paint need a shellac based stain blocking primer. Slick laminate and glossy factory finishes need a bonding primer made to grip them. Skipping primer on either is how makeovers peel in the first year.
Tannin test: wipe dark wood with a damp white cloth. If colour transfers, assume bleed through and prime accordingly.
Stage Four: The Finish
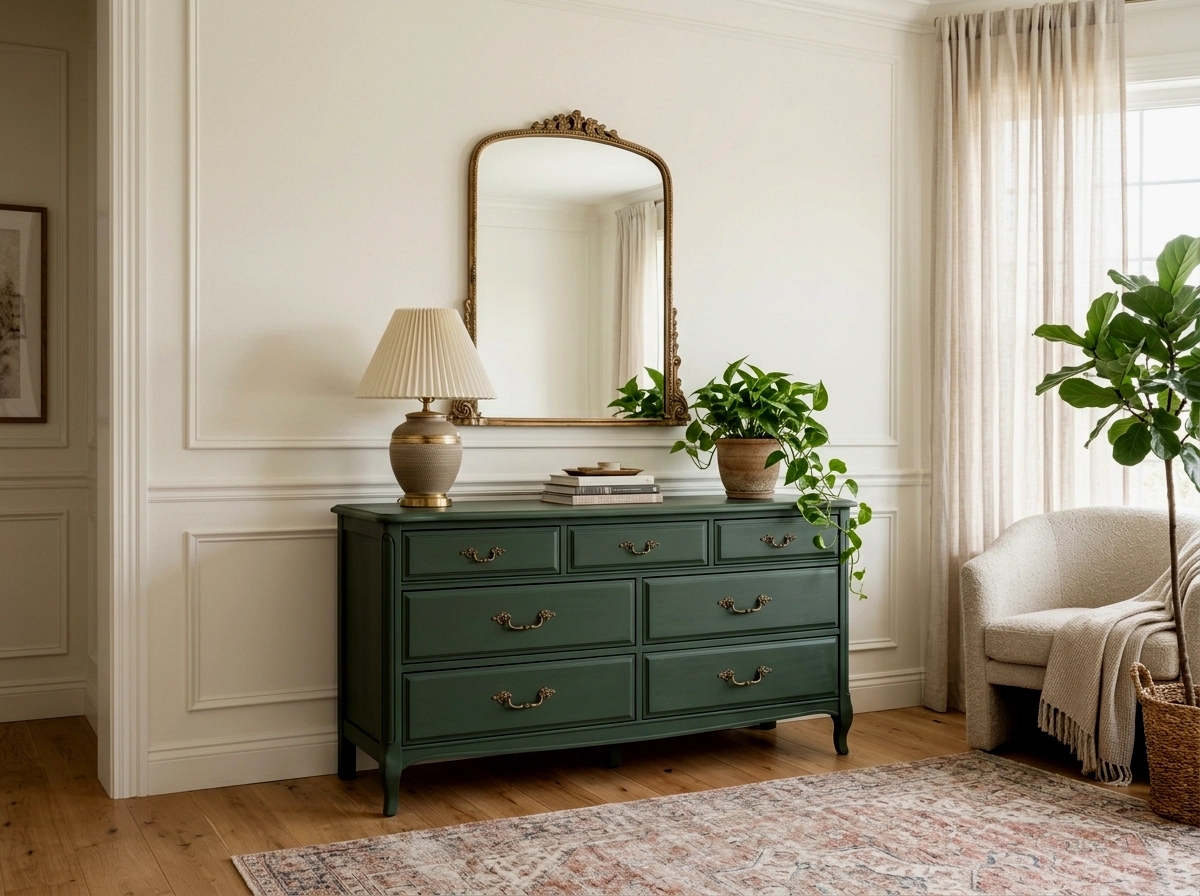
7. Go deep and classic with colour plus brass
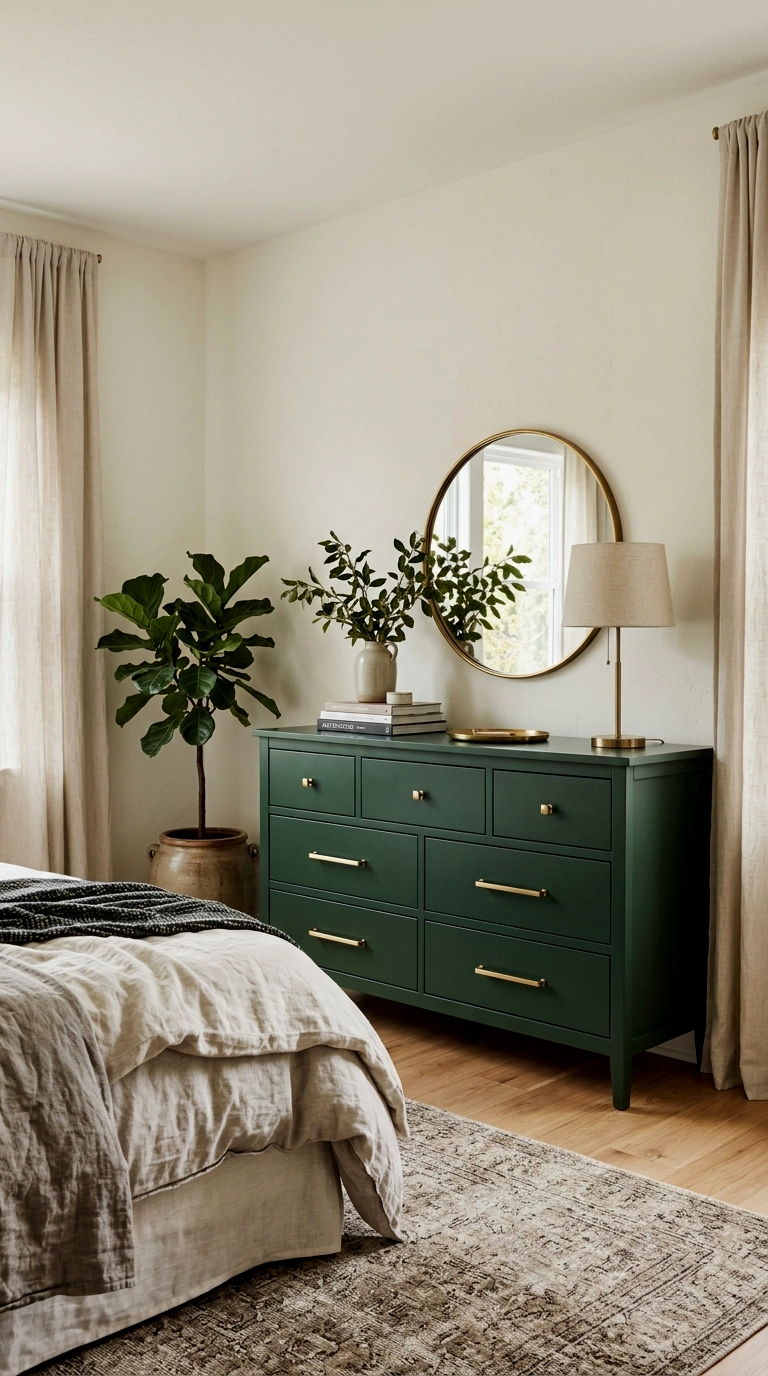
A deep green, navy or near black in a satin finish with brushed brass hardware is the makeover that suits the most rooms and hides the most history. Dark colours forgive minor surface sins that white paint spotlights.
Sheen choice: satin or eggshell. High gloss shows every dent and brush mark, flat matt shows every fingerprint and scuff.
8. Split it two tone: painted frame, wood top
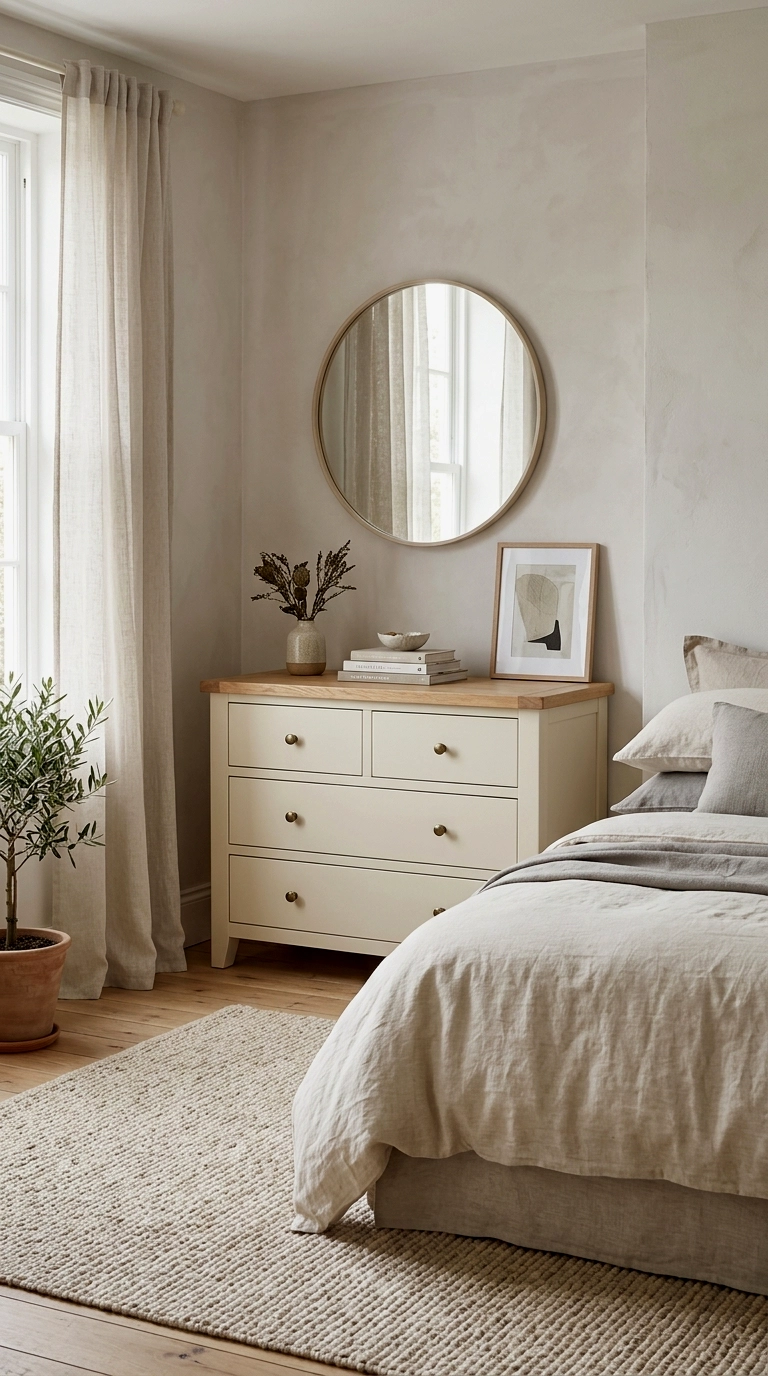
Paint the frame and drawer fronts, then strip, sand and oil or stain the top surface back to wood. The two tone split suits pieces whose top grain was always the best thing about them, and it makes a heavy dresser look lighter.
Which parts stay wood: follow the quality. The best timber on the piece earns the exposed place, the rest takes paint.
9. Limewash for the pale, raw wood look

On oak and pine with honest grain, a limewash or whitewash finish, worked into the grain and wiped back, gives that pale Scandinavian look while keeping the wood visible. It needs bare wood to work, so this is the one finish that does justify a full strip.
Grain first: raise the grain with a damp wipe, let it dry, then knock it back lightly before washing, or the finish will feel rough forever.
10. Colour block the drawers
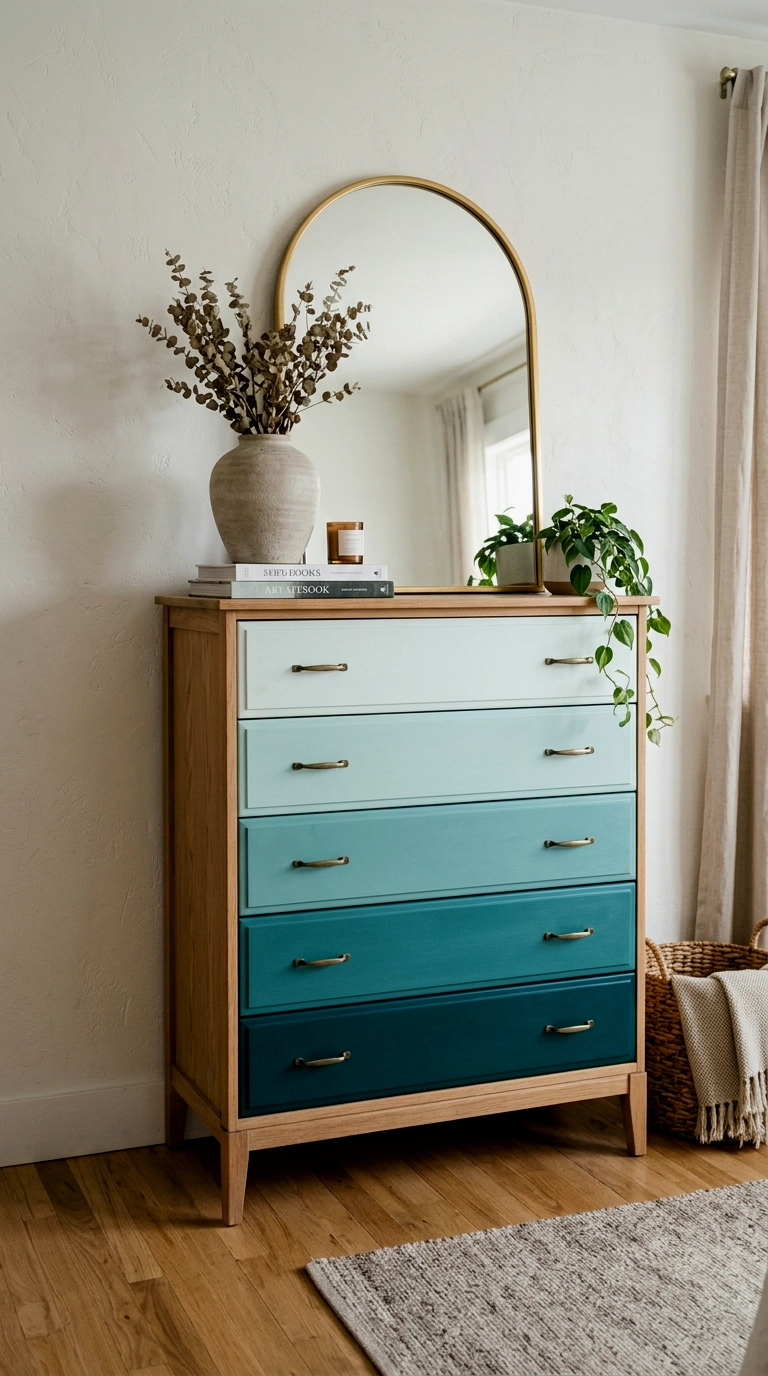
Different tones drawer by drawer, an ombre climb from pale at the top to deep at the base, or a two colour split, turns a plain flat fronted dresser into the piece people ask about. Tape lines must be pressed down hard and sealed with a first thin coat of the base colour.
Ombre maths: mix the steps yourself from the deepest colour plus white, in measured ratios you write down. Eyeballing five matching steps does not work.
11. Paper the drawer fronts
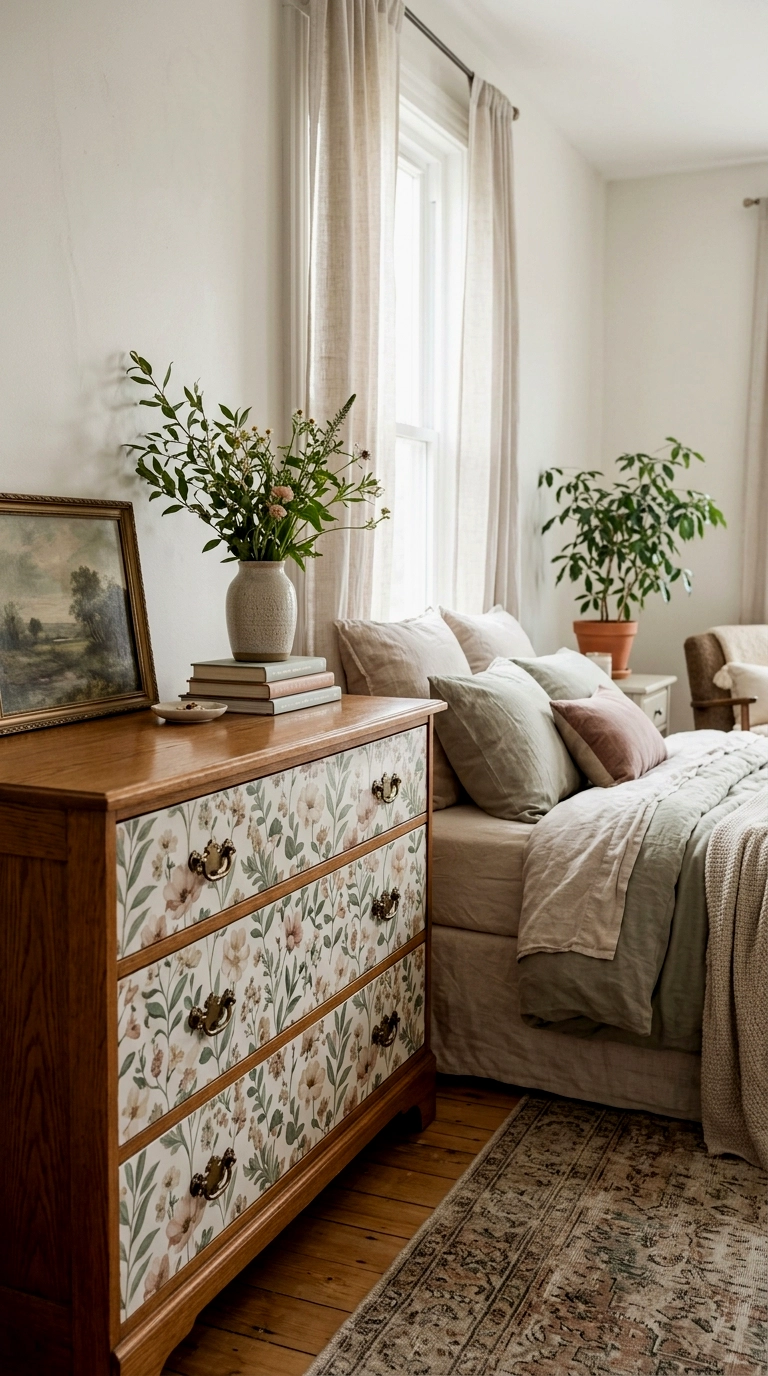
Wallpaper or fabric applied to drawer fronts, sealed under two or three coats of water based varnish, gives pattern no painting skill can match. It suits flat fronts and pieces where the wood underneath has nothing to say.
Pattern placement: cut all fronts from one continuous pattern run so the design flows across the drawer gaps. Random offcuts read as patchwork, matched flow reads as design.
12. Add trim before you paint
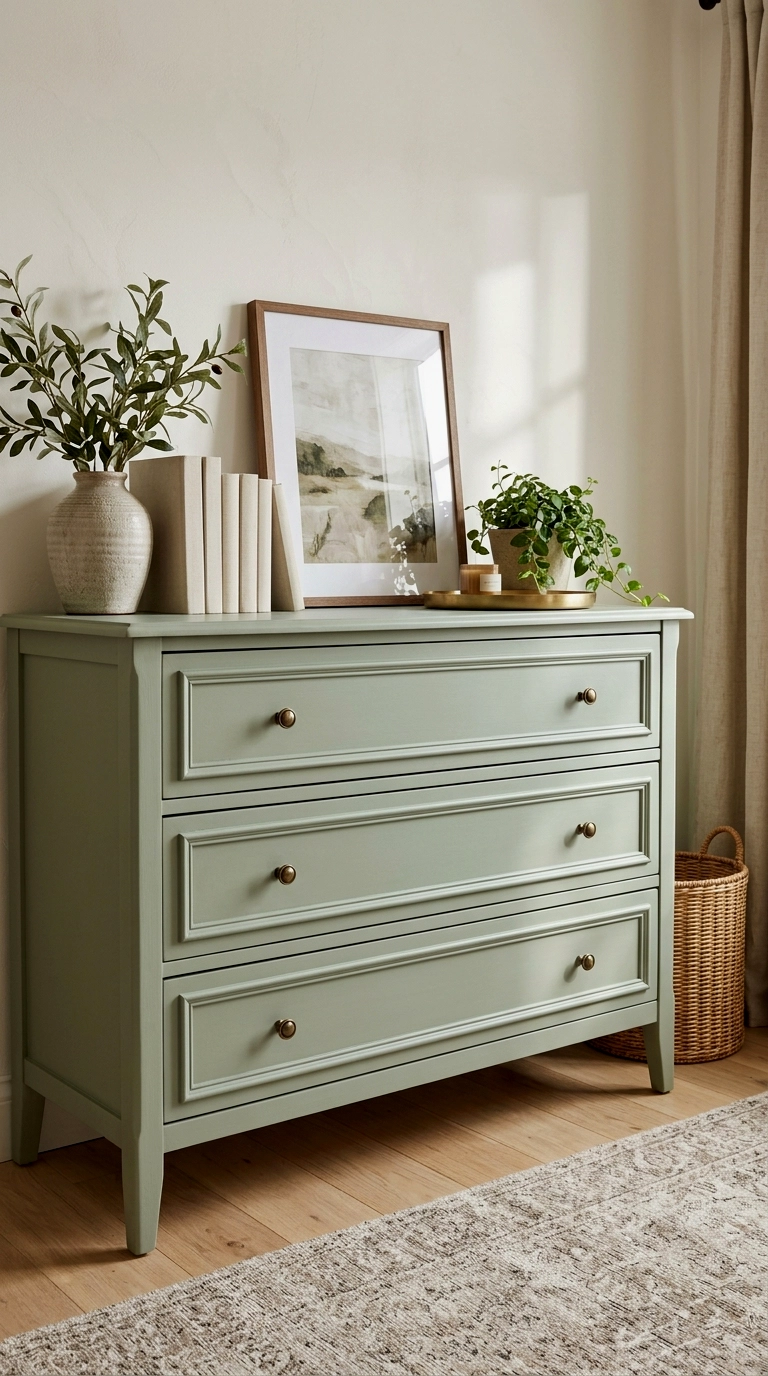
Thin moulding strips, applied as rectangles on flat drawer fronts or as fluting down the sides, then painted as one with the piece, fake the joinery of furniture three times the price. This is the highest impact idea in the finish stage for plain modern dressers.
Glue and pin: wood glue alone lets trim creep. A pin or two per strip, filled before priming, keeps the lines where you put them.
Finishes compared
| Finish | Effort | Approx. cost | Durability | Best for |
|---|---|---|---|---|
| Full colour paint, satin | Medium | Low | High with topcoat | Dated pieces, bold rooms |
| Two tone, paint plus wood top | High | Low | High | Good tops, heavy pieces |
| Limewash on bare wood | High, needs stripping | Low | Medium | Oak and pine with real grain |
| Wallpaper fronts | Medium | Medium | Medium, sealed | Flat fronts, pattern lovers |
| Trim plus paint | Medium to high | Low to medium | High | Plain modern dressers |
Stage Five: Hardware and Silhouette
13. Swap the hardware, measure first
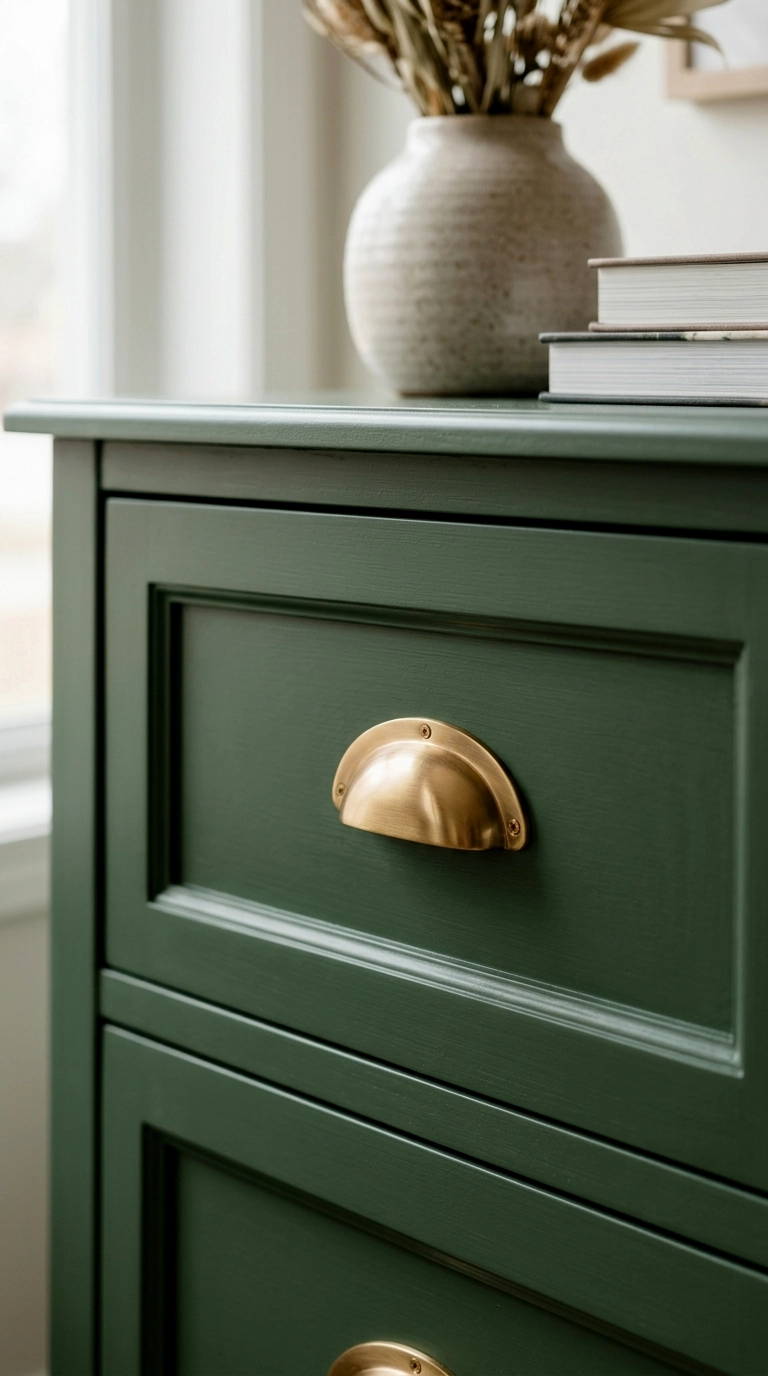
Handles are measured centre to centre, the distance between the two screw holes, not by overall length. Match the existing spacing and the swap takes five minutes, or fill the old holes with two part filler, cure fully, and drill fresh holes for the handles you actually want.
Proportion guide: on wide drawers, pulls around a third of the drawer width, or a pair of knobs at the thirds, look balanced. Tiny knobs on wide drawers always look lost.
14. Change the legs, change the century
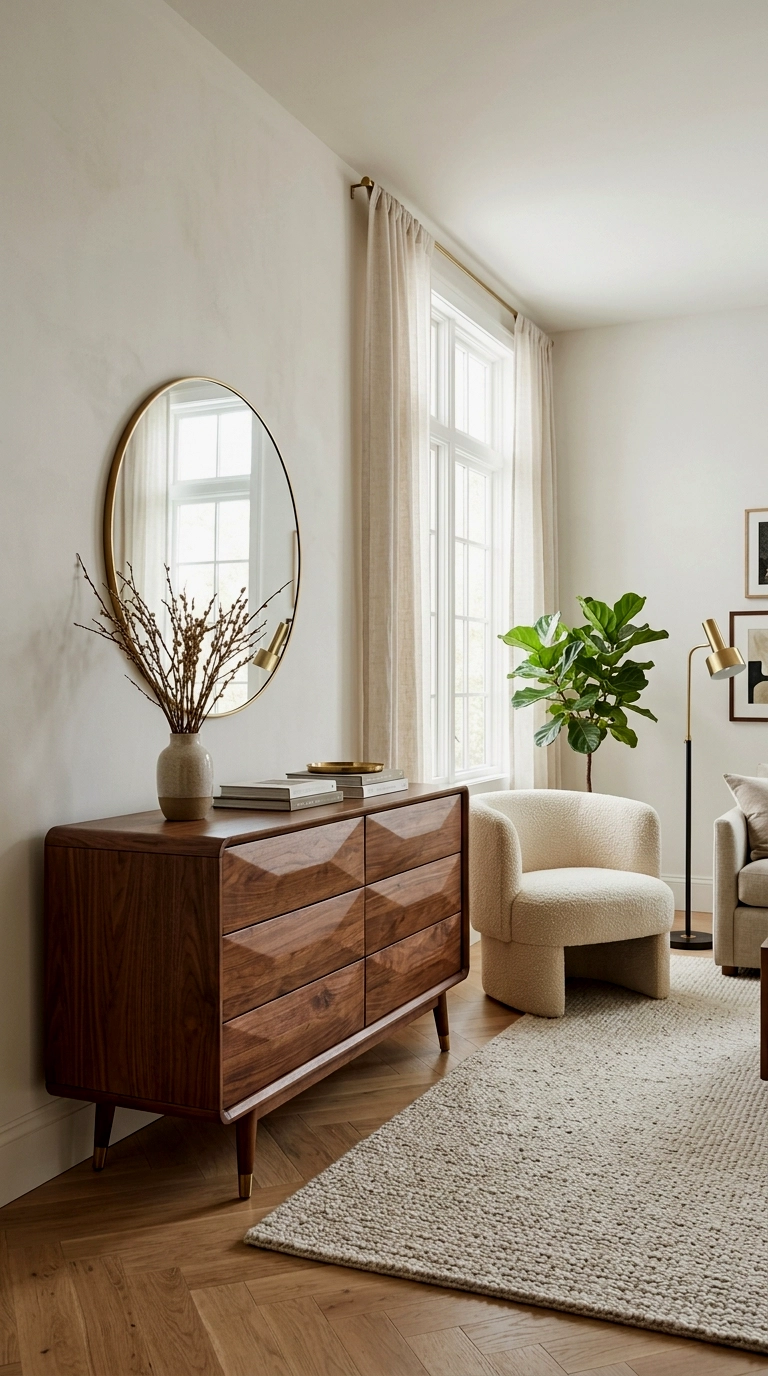
Swapping a plinth base for tapered mid century legs, or adding bun feet to a piece that sits flat, changes a dresser’s whole era without touching the body. Screw on leg plates make this a drill and screwdriver job on sound timber bases.
Height bonus: raising a low dresser on legs also makes it usable as a TV stand or entry console, which doubles its second hand value and its life with you.
Stage Six: The Reveal
15. Line the drawers and stage the top

Drawer liners in a washable paper finish the inside story, and the top gets a simple vignette: a lamp, a small stack of books, one plant or a mirror above. How a makeover is staged is half of how good it looks, in photos and in the room.
Vignette maths: three heights, tall, medium, low, grouped off centre. The same rule as every styled surface, because it works every time.
16. Give it a second life somewhere new

The best test of a makeover: the dresser does not have to go back to a bedroom. Entry consoles, TV stands, hallway storage and even a baby changing station with a topper are all second lives for a standard dresser, and styling it for the new job completes the transformation.
Before you sell or gift it on: live with the piece in its new role for a month. Half of all flips come home again because the makeover was better than the plan for it.
A makeover done in this order gives you six chances to improve the piece before paint is even opened, and that is the whole secret. The colour is the last decision, not the first. Style the finished piece with the layering rules from these cozy neutral bedroom ideas, or let it anchor a wall using the dining room wall decor ideas.