Decorate a Studio Apartment: Zones First, Furniture Second
Before you move a single cushion, stand in the doorway with a tape measure and give the room ten quiet minutes. A studio tricks you from inside it, where everything looks close together and easy to shuffle, but from the door you see the truth clearly: this is not one room at all, it is a small floor waiting to be divided. Measure the full length and width, note where the window, the radiator and the door swing sit, and sketch the outline roughly on paper.
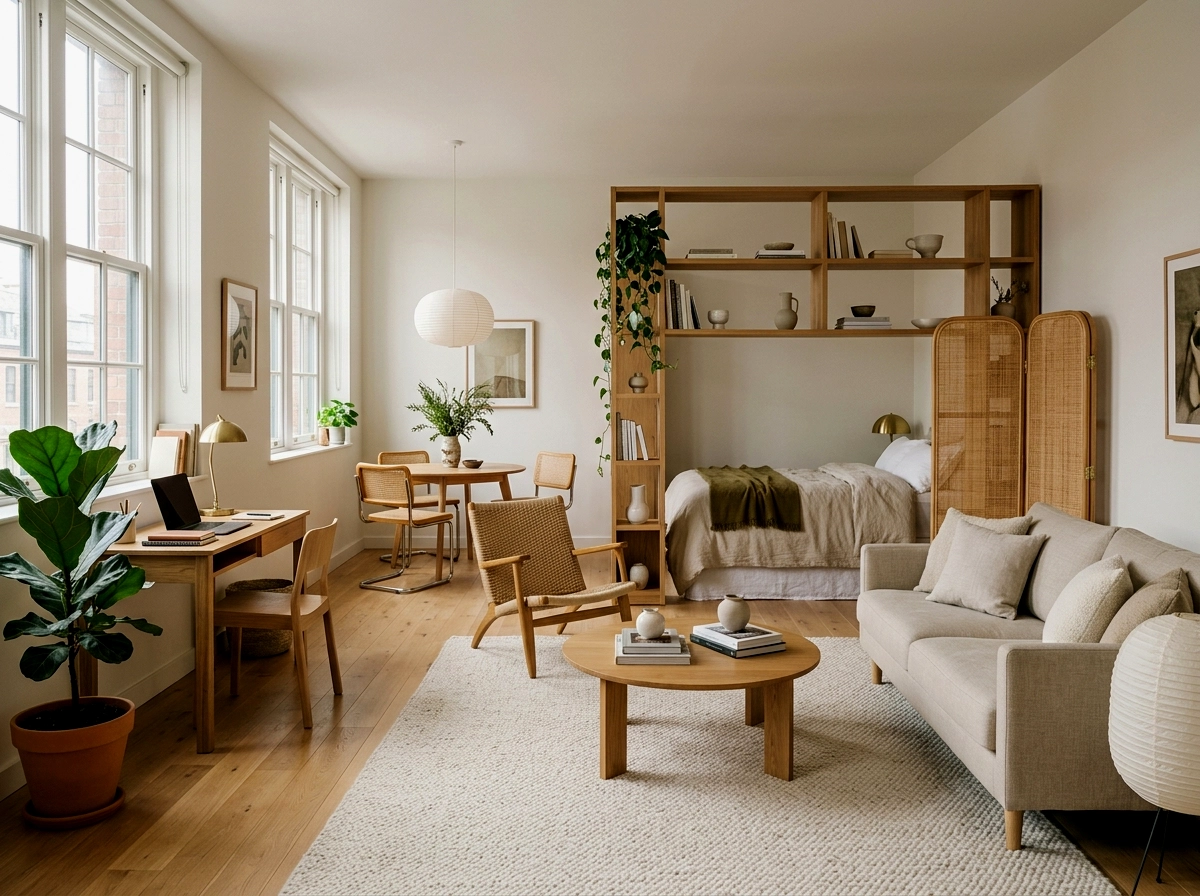
That sketch becomes a promise. Four small rooms will share this one floor: somewhere to sleep, somewhere to live, somewhere to work and somewhere to eat, and each one gets an edge you can point at. You will not build a single wall. Rugs, screens, shelving and pools of light do all the dividing, and once the zones hold their shape, every furniture decision after that gets easier, because each piece only has to suit the one small room it lands in.
The Floor Plan Rules
- Keep one clear walkway of 75 to 90 centimetres running from the door toward the window, and never let a rug edge or a table leg claim it.
- The bed takes the darkest corner, ideally a good 2 metres from the door swing and out of the first morning light.
- The sofa sits against the longest unbroken wall, with at least 40 centimetres of breathing room between its arms and whatever stands beside it.
- Every zone gets its own light source within arm’s reach, because a single ceiling light flattens four rooms back into one bedsit.
- Leave 60 centimetres of knee and chair room all round the dining table, or meals will quietly migrate to the sofa.
The Sleep Zone
1. Claim the darkest corner for the bed
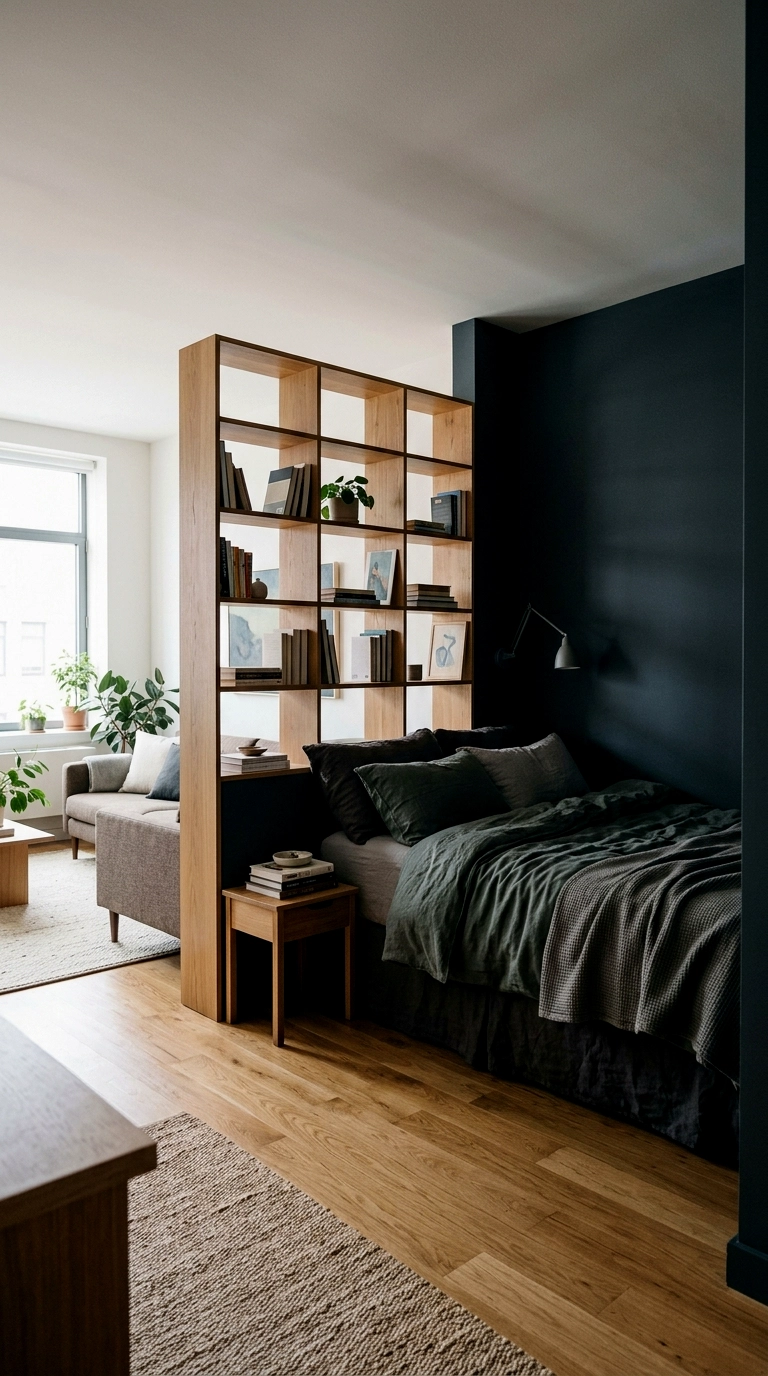
Visit the room at the hour you normally wake up and find the corner the daylight reaches last, then pace out its distance from the door. You want the bed far enough from the entrance that a late arrival or a hallway noise still feels like it belongs to another part of your life. A standard double needs about 190 by 140 centimetres, plus 50 centimetres down one side so you can climb in and make the bed without shuffling sideways like a crab.
The darkest corner is the bedroom, and every other zone negotiates around that one decision.
2. Bound the bed with a screen, curtain or open shelf
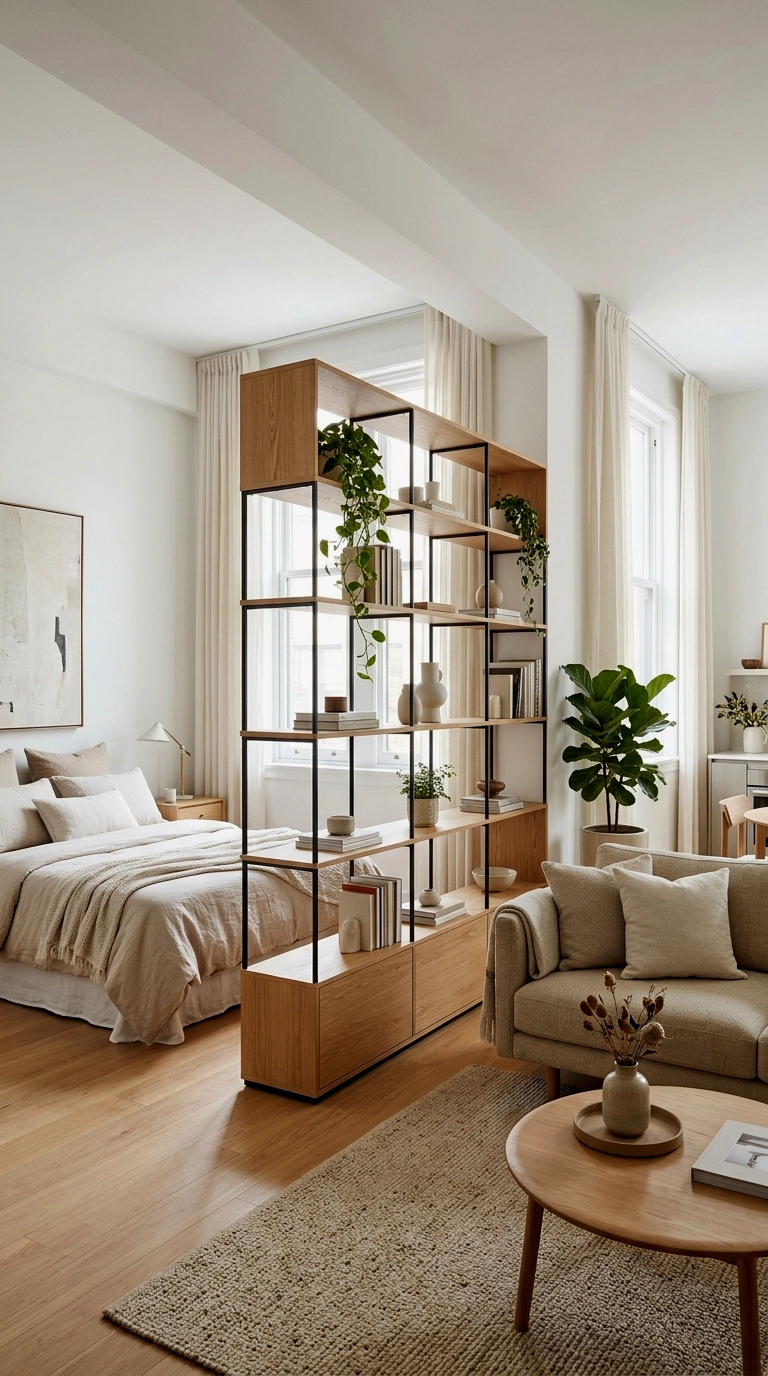
Stand at the foot of the bed and run an imaginary line, roughly 150 centimetres tall, along its open side. A folding screen, a linen curtain on a ceiling track or an open backed bookcase about 30 centimetres deep can all stand on that line without swallowing your daylight. Because the boundary is freestanding and fixes nothing to the walls, it suits a rented flat perfectly, the same thinking behind a cheap rental makeover where the deposit stays safe.
A bed with a boundary stops being furniture in a room and starts being a bedroom.
3. Give the sleep zone its own low warm light
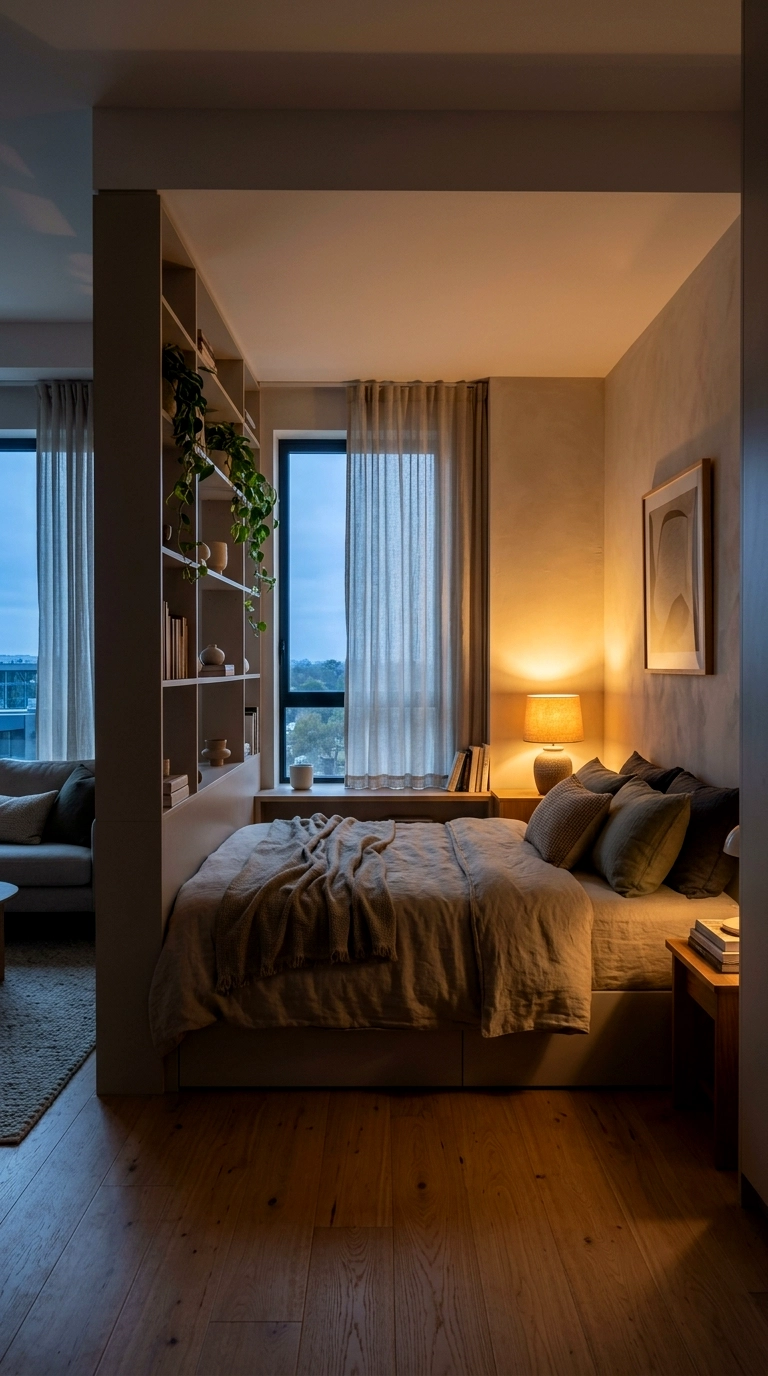
Set a small lamp inside the boundary, on a stool or a stack of books, with the bottom of its shade sitting close to mattress height. A warm bulb around 2700K throws a low pool of light that reaches about a metre, which is all you need for reading and winding down. Keep the switch or the cord within 60 centimetres of your pillow so the zone can go to sleep without you crossing the room.
When the sleep zone has its own light, the rest of the studio is allowed to still be awake.
The Live Zone
4. Anchor the living area with the studio’s biggest rug
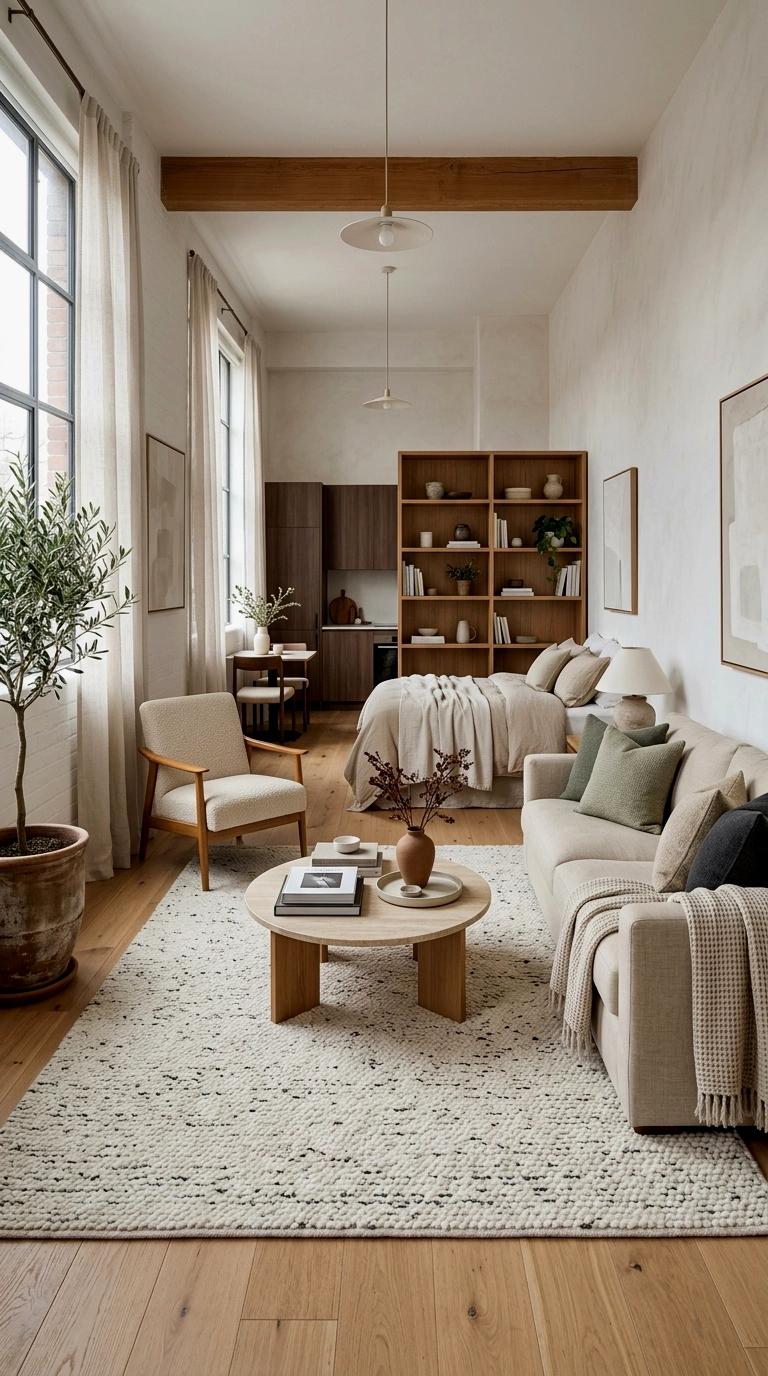
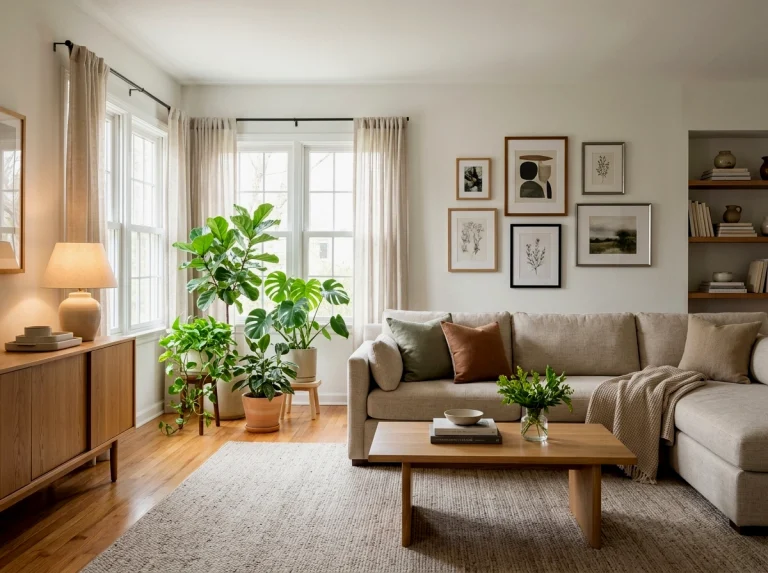
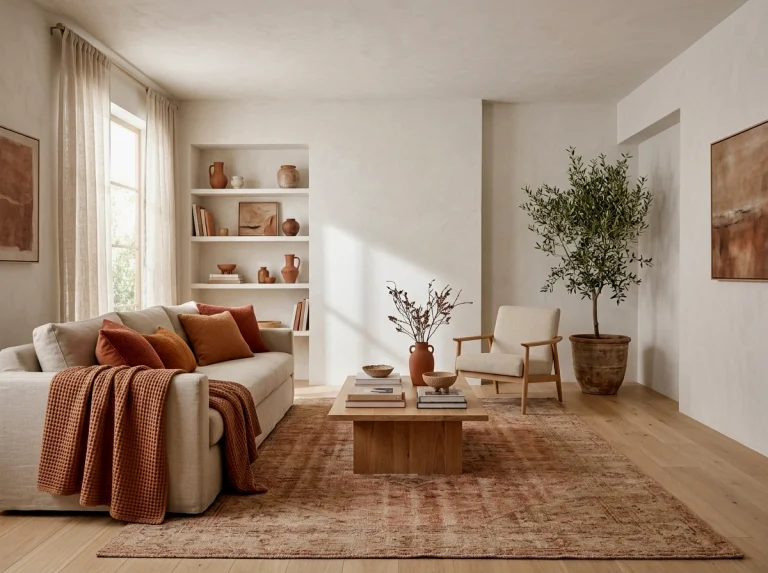
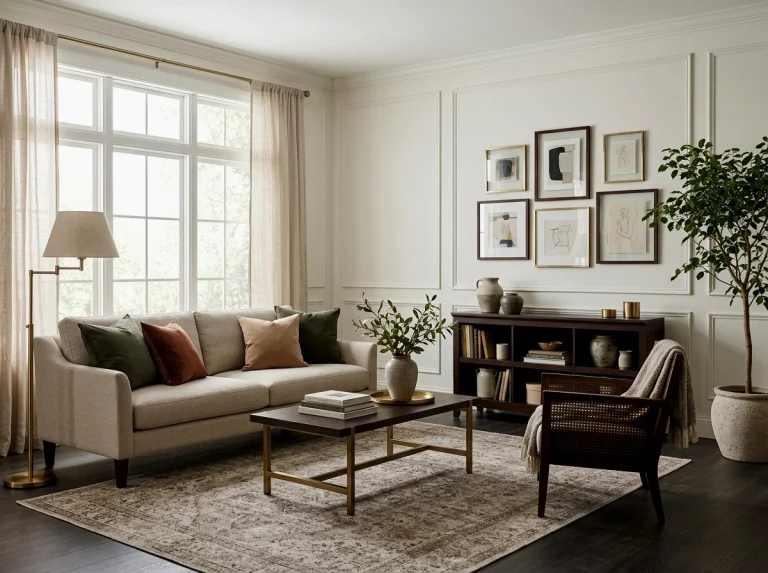
The living zone gets drawn on the floor, and the rug is the pen. Choose the largest rug the space can honestly take, at least 160 by 230 centimetres, and slide it under the sofa so the front legs stand a good 20 centimetres onto the pile. The coffee table, the chair feet and anything social belong inside that border, and everything outside it belongs to another zone. Keep your 75 centimetre walkway running clear along one side of the rug, not across it.
In a studio, the rug is not decoration, it is the living room’s floor plan.
5. Choose a small sofa with legs and air beneath it
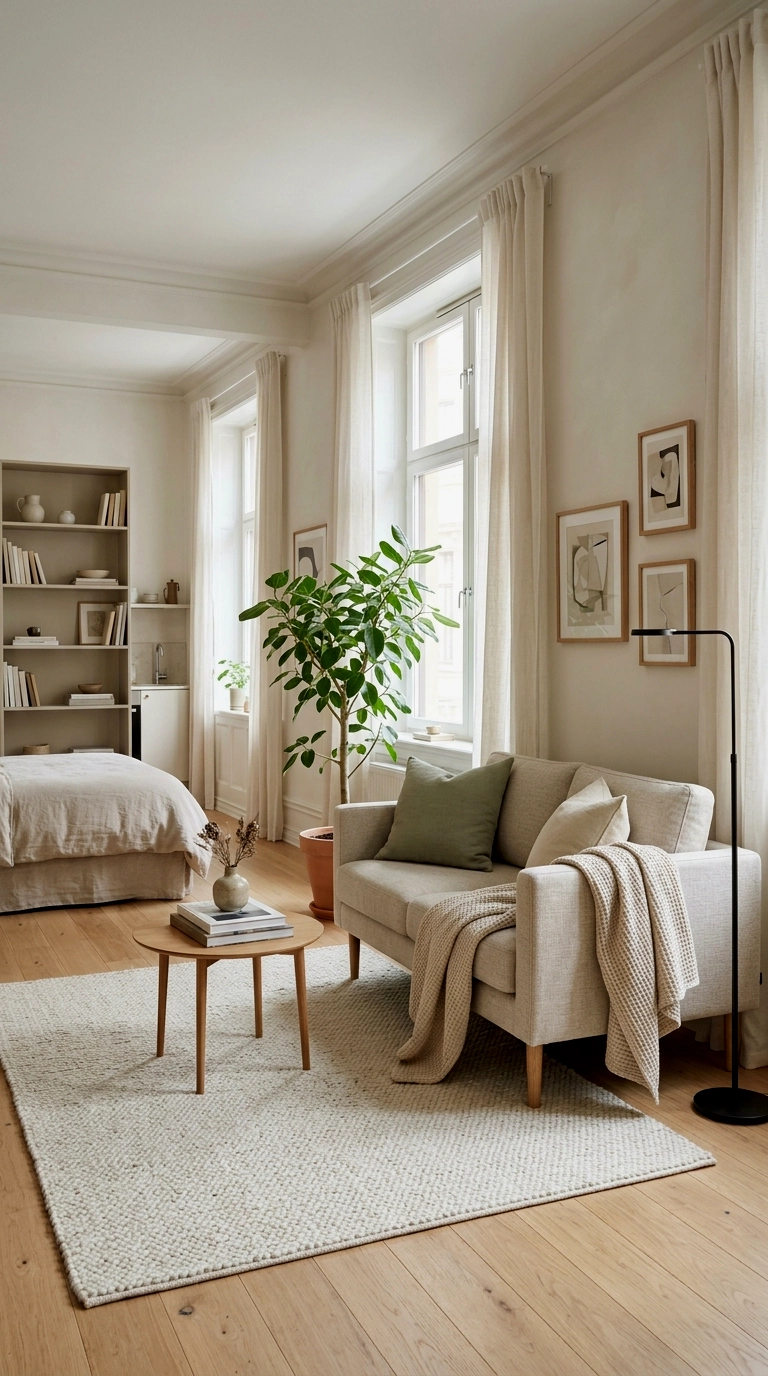
A two seater around 140 to 160 centimetres wide is the honest size for most studios, no matter what the showroom suggests. Look for legs that lift the base 12 to 15 centimetres off the floor, because that visible strip of floorboards underneath reads as extra space to everyone who walks in. A lighter fabric helps too, and arms that sit below 65 centimetres keep the piece from looming over the small room around it.
Air underneath a sofa is floor space you can see, and in a studio, seen space counts.
6. Face the sofa at a wall moment, not the bed
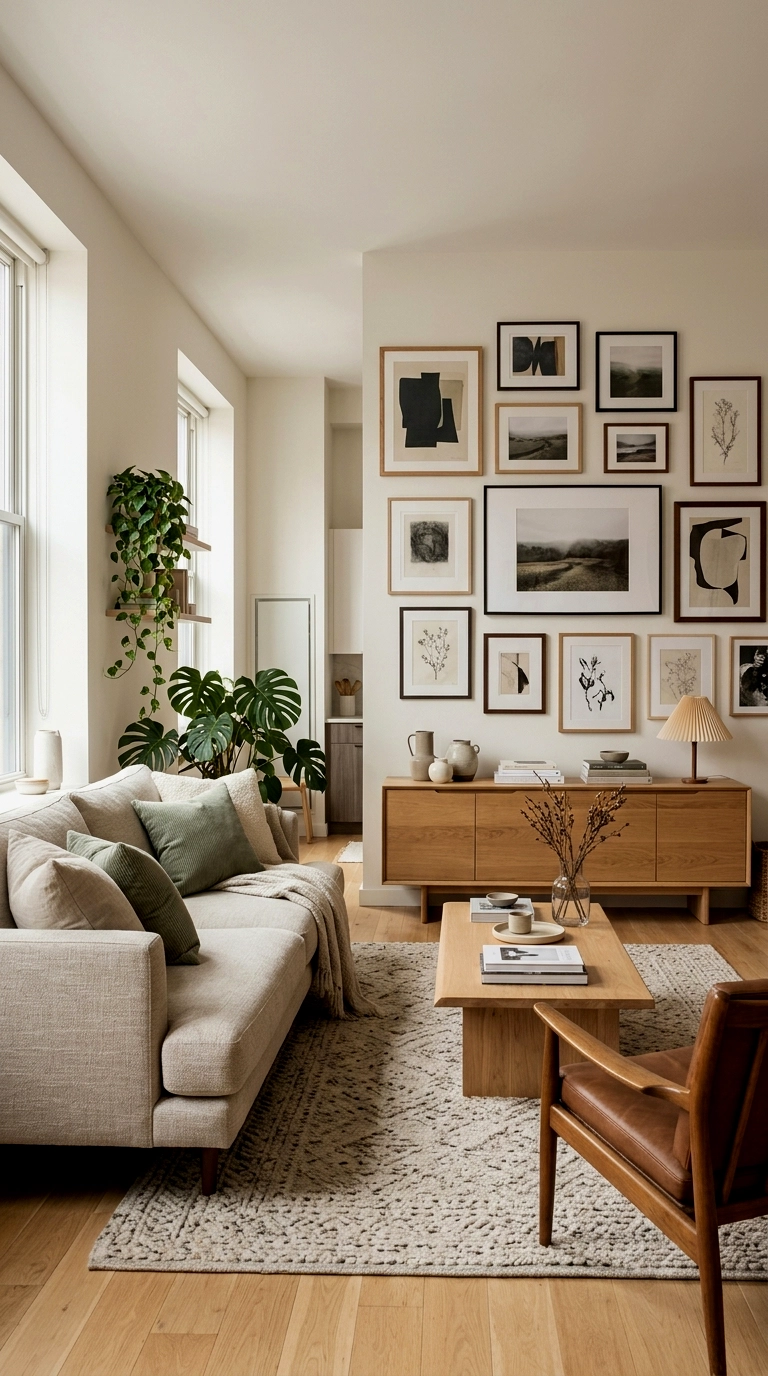
Give the sofa something of its own to look at: a picture ledge, one large print or the media shelf on the opposite wall, hung with its centre around 145 centimetres from the floor, at seated eye level. Leave at least a metre of clear floor between the sofa front and the sleep zone boundary, so the two zones never visually collide. If the sofa faces the bed, your evening view is a reminder of chores and sleep, and the lounge feeling evaporates.
A living room needs a view, even when the view is a picture you hung yourself.
The Work Zone
7. Take the window’s side for a slim desk
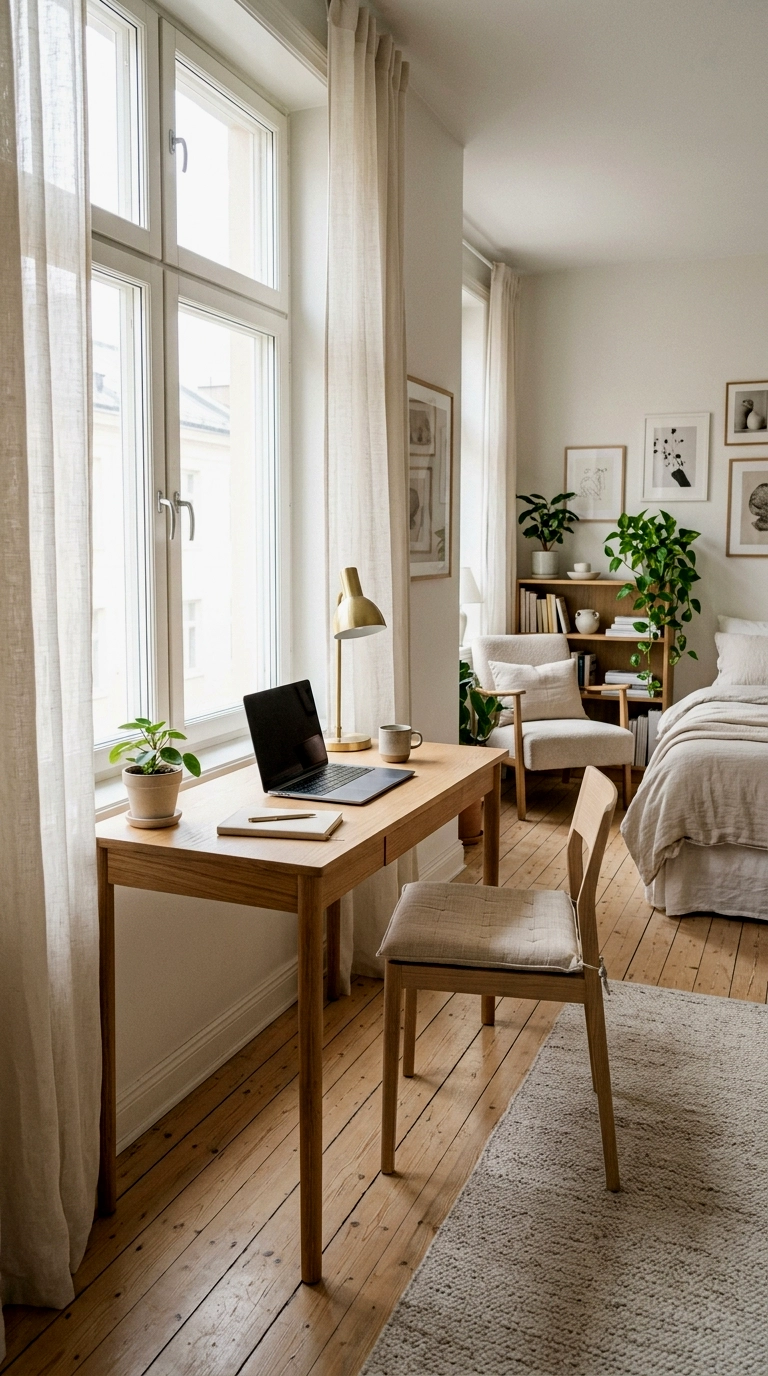
Daylight belongs to your working hours, so the desk claims a spot along the window wall or tucked perpendicular to it. A slim desk 100 to 120 centimetres wide and only 45 centimetres deep is plenty for a laptop, a lamp and a notebook, and it leaves the floor feeling open. Allow 60 centimetres behind it for your chair to roll or pull out without clipping the rug or the bed boundary.
Work facing the light and sleep facing the dark, and the studio quietly sorts itself out.
8. Bound work with a bookcase edge or a lamp change
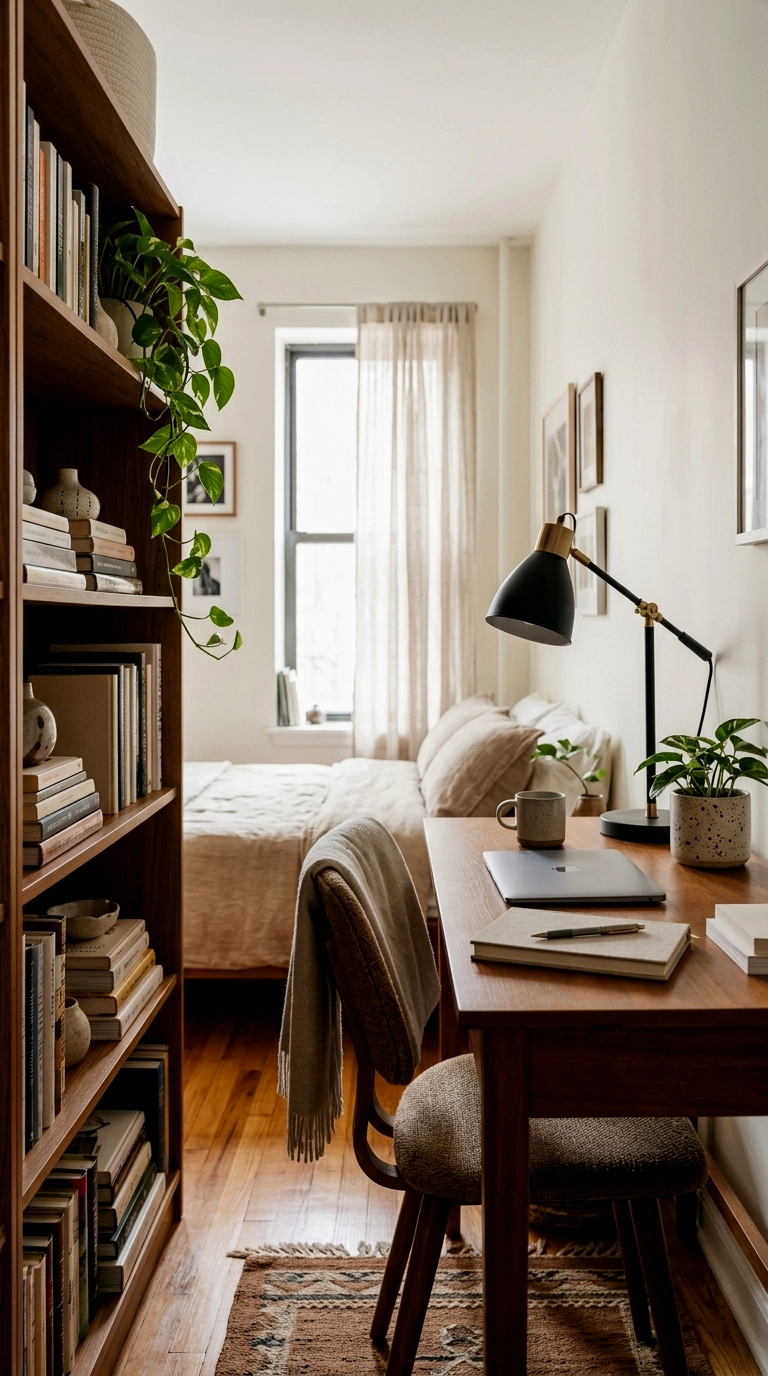
The work zone does not need a wall, it needs an ending. Stand a bookcase about 80 centimetres wide at the desk’s far end so it caps the zone like a full stop, or let the desk lamp’s pool of light be the border instead. Shelves at the edge hold the printer, the files and the charger tangle, all within the 90 centimetre reach zone of your chair. When the lamp clicks off at night, the office closes, and the studio becomes home again.
If you can point at where work lives, it stops living everywhere.
The Eat Zone
9. Give eating a real table, however small
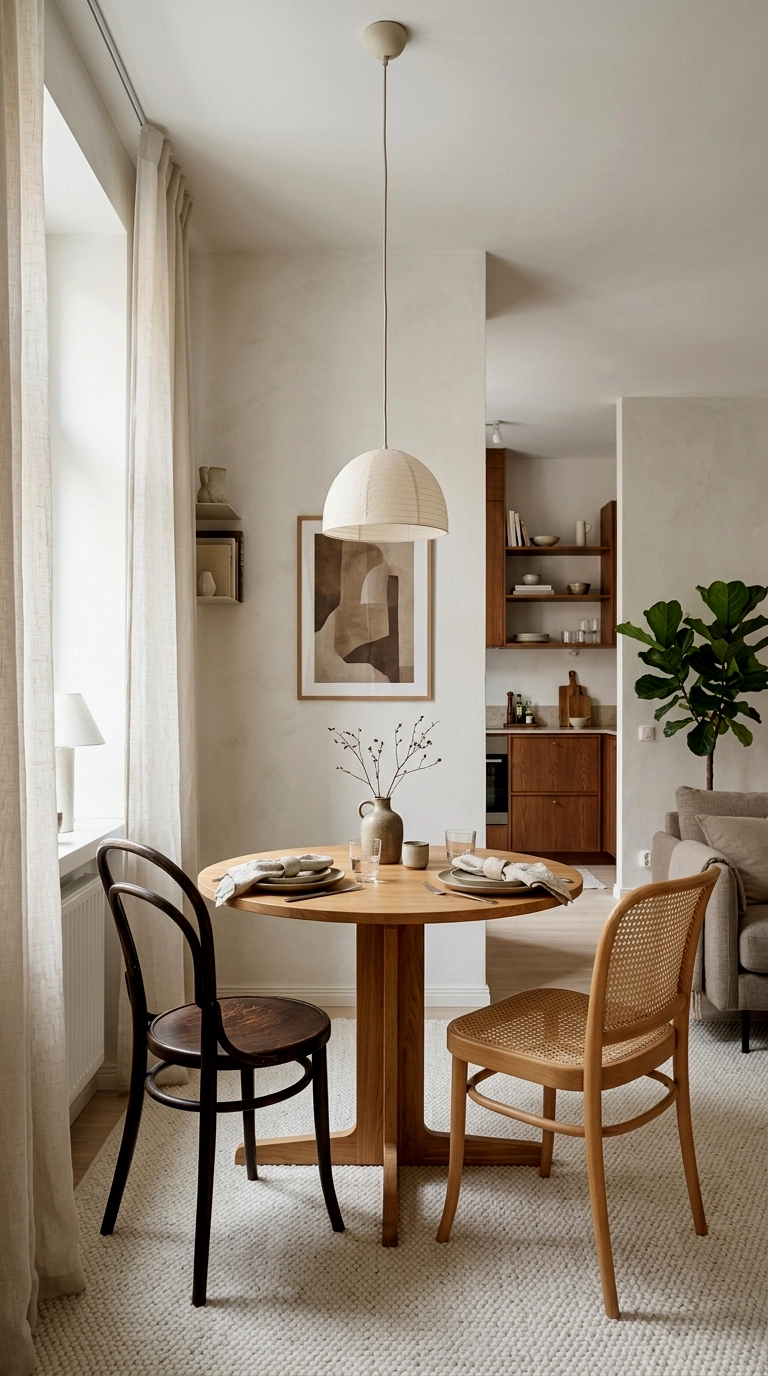
A round table about 75 centimetres across seats two people properly, hosts a laptop on a weekday and clears in seconds for dinner with a friend. Round matters here: no corners jabbing the walkway, and two chairs tuck fully beneath it when the meal ends. It is the same spirit as the edit-first thinking in a weekend refresh, where a small flat gets cleared and rethought rather than refurnished.
The day a studio gets a real table is the day it starts feeling like a home instead of a stopgap.
10. Hang the eat zone’s pendant or picture
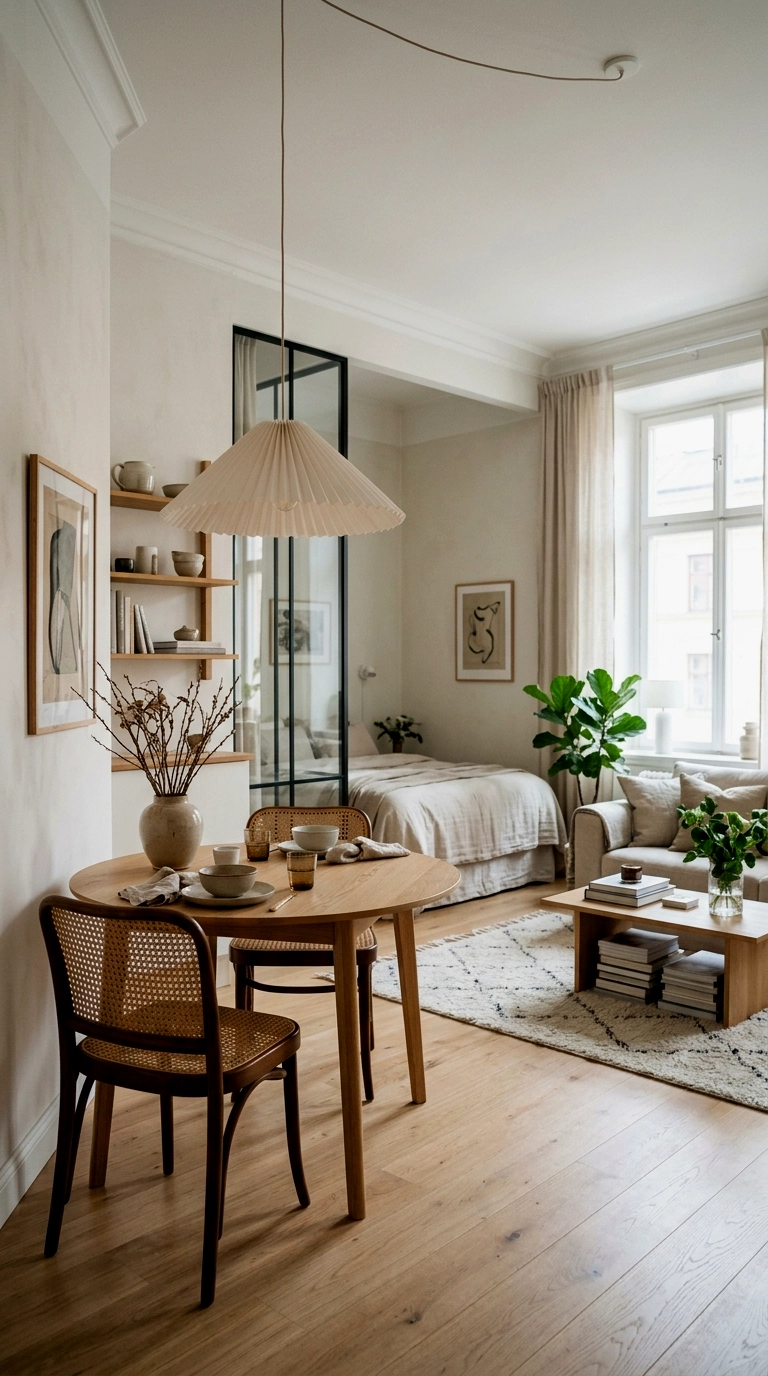
Every zone needs one marker, and the eat zone’s hangs above the table. A pendant light dropped to about 70 centimetres above the tabletop pools the light exactly where plates and faces are, and it reads as a ceiling for the dining room. No ceiling fitting to spare? A framed print or a shallow shelf centred at 150 centimetres does the same declaring job from the wall.
One marker over the table tells every guest, without a word, that this corner is the dining room.
The Threads That Unite Them
11. Run one colour and one wood tone through all four zones
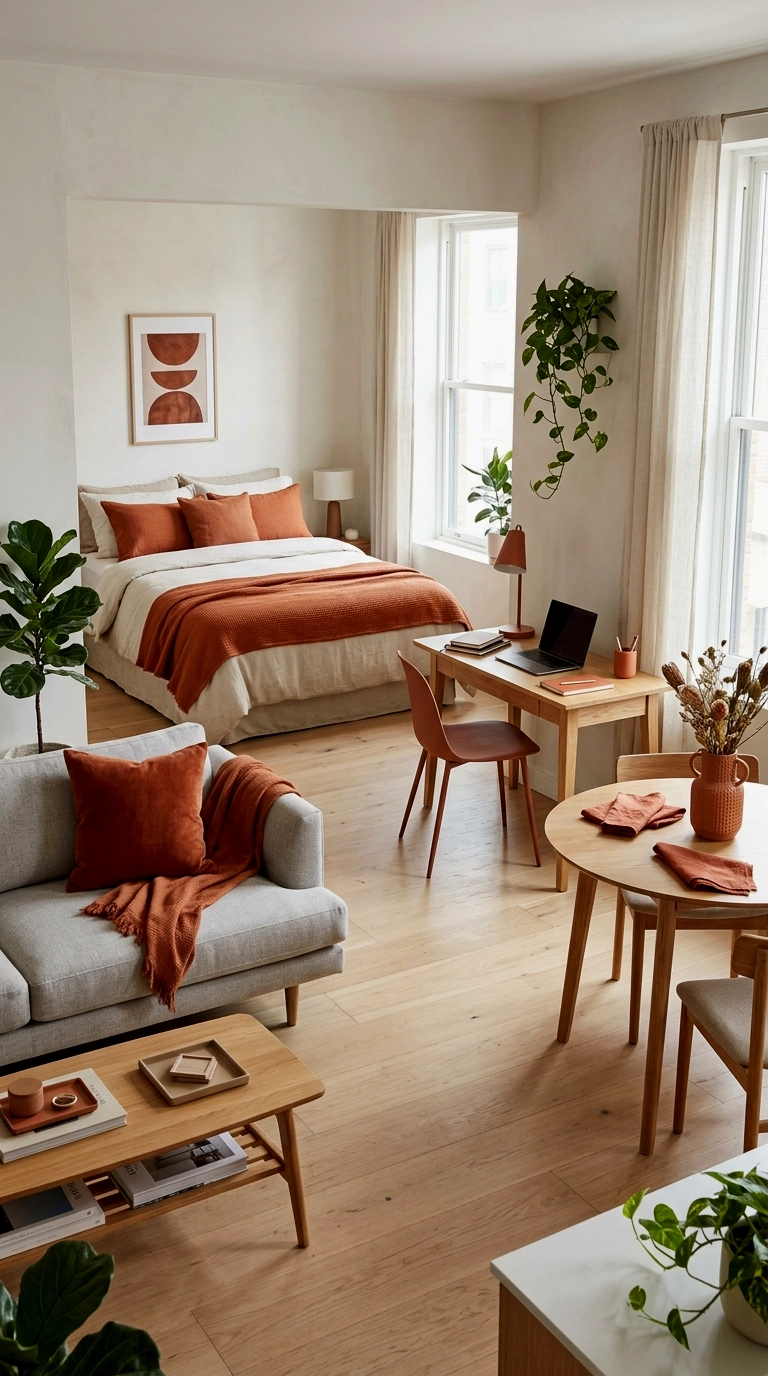
Zones divide the floor, but threads stitch the flat back into one home. Pick a single accent colour and repeat it at least three times: the throw on the bed, a 45 centimetre cushion on the sofa, the mat under your laptop, the runner or napkins on the table. Keep every wooden piece inside one family too, all pale oak or all warm walnut, even if the pieces were bought years apart.
Divided by boundaries and united by repetition is the whole studio trick in one sentence.
12. Finish with a door view test
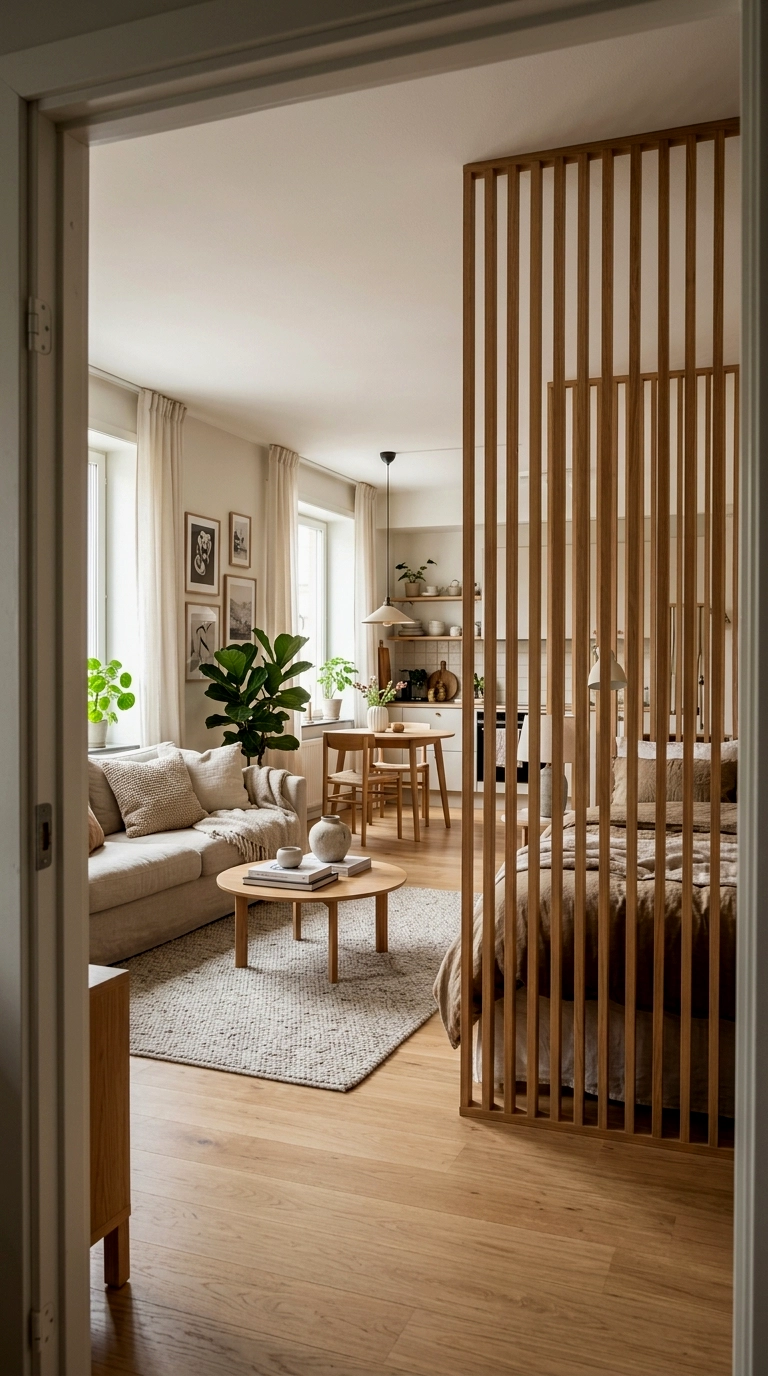
Stand one step inside the front door, exactly where a guest stands, and read the room like a stranger would. You should be able to name at least two zones at a glance, and the bed’s pillows, sitting roughly 3 metres away in most studios, should hide behind their screen or shelf rather than facing you dead on. If the bed shouts loudest, swing the screen 20 centimetres or angle the rug until the balance tips.
When the doorway shows a home instead of a bed in a room, the studio is finished.
Three Scale Mistakes
The oversized sofa. A sectional or a three seater longer than about 220 centimetres does not sit in a live zone, it replaces it, and the eat and work zones get squeezed into whatever floor is left over.
The bed that outgrew its corner. A king frame in a corner measured for a double eats the 50 centimetres of access space, the boundary line and usually the walkway too, so the whole flat starts to feel like a bedroom with furniture stored in it.
The dining chairs that cannot tuck in. Chairs wider than 45 centimetres, or arms that sit higher than the table’s underside, never slide away after meals, and a studio pays for that clutter every single hour of the day.
Come home at the end of the day, open the door and pause on the threshold. The sleep corner is dim and quiet behind its screen, the rug holds its little living room together, the desk lamp is off and the table is clear, and not one of those small rooms is apologising for the others. That view, four rooms deep in a single glance, is how you know the floor plan worked.